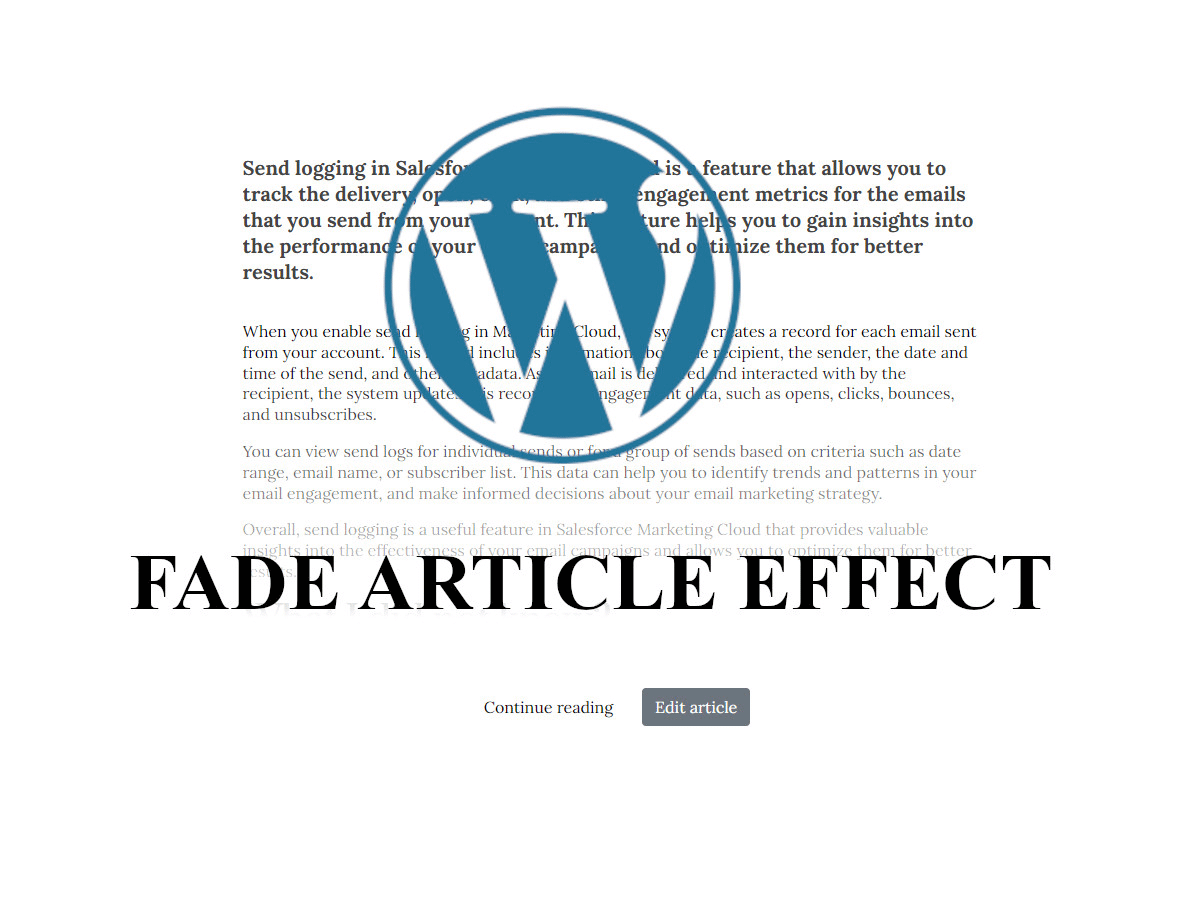
Fade post article effect in wordpress theme
Adding visual interest and engaging design elements to your WordPress website is an essential part of creating a great user experience. One way to accomplish this is by adding a fade effect to your post articles, which can create an attractive and engaging visual transition for readers. In this blog post, we’ll show you how to add a fade effect to your post articles in WordPress using CSS and template file modifications.
All of the files I will be modifying later in this article are based on the structure of the starter theme from underscores.me.
Step 1: Modify the CSS
To add a fade effect to your post articles, we’ll be using CSS to add a linear gradient to the bottom of the first article entry. This gradient will gradually fade from transparent to white, creating a visual transition that draws the reader’s attention. Here’s the CSS code you’ll need to add to your stylesheet:
.first-entry.entry-content::after {
  content: "";
  position: absolute;
  bottom: 0;
  left: 0;
  right: 0;
  height: 300px;
  background: linear-gradient(transparent, white);
}
This CSS code creates a pseudo-element with a linear gradient background that fades from transparent to white. We’re positioning it at the bottom of the “.first-entry” element and giving it a height of 300 pixels to ensure that the entire first article entry is covered by the fade effect.
Step 2: Modify the template file
Based on your blog structure you need to modify one of the wordpress files, where you want to create this fade effect. In my case I’ve changed file index.php that is used for displaying content for pages. If you do not know what file to modify just simply google:
wordpress template hierarchy
Now that we’ve added the CSS code to create the fade effect, we need to modify the template file, where we render post articles, to trigger it on the first article entry. We’ll do this by adding a special class to the first article entry, which will be targeted by the CSS code we just added. Here’s the modified template file code:
<div class="<?= (in_array("first", $args) ? "first-entry":"")?> entry-content mt-2">
This code adds a conditional statement that checks if the “first” argument is present in the array of arguments passed to the content template part. If it is, it adds the “first-entry” class to the article entry, triggering the fade effect we created in the CSS.
To ensure better SEO performance, I have made the decision to remove all subheadings from the articles displayed on the main page. This is because including partial articles on the main page can potentially confuse search engines, leading to negative impacts on the page’s SEO. By removing subheadings, we can streamline the content and improve the page’s search engine visibility.
if (in_array("first", $args)){
$content = get_the_content();
$content = preg_replace('/<h([1-6])([^>]*)>(.*?)<\/h[1-6]>/i', '<span class="fs-$1 fw-bold">$3</span>', $content);
$content = apply_filters( 'the_content', $content );//same as the_content() wp function
$content = str_replace( ']]>', ']]>', $content );//same as the_content() wp function
echo $content;//same as the_content() wp function
}else
the_content();Step 3: Call the modified template file
Finally, we need to call the modified template file and pass the “first” argument to it to trigger the fade effect. Here’s the code you’ll need to call the template file:
get_template_part('template-parts/content', 'page', ["first"]);
This code calls the “content-page.php” template part file and passes the “first” argument to it, which triggers the fade effect on the first article entry.
If we want to display the entire blog post, we can simply exclude the third argument when calling the get_template_function.
Conclusion
By following these steps, you can easily add a fade effect to your post articles in WordPress, creating an attractive and engaging visual transition for readers. By using CSS and template file modifications, you can customize the effect to match your site’s design and make your content stand out. Give it a try on your site today!


